Tag: Cardio Exercise

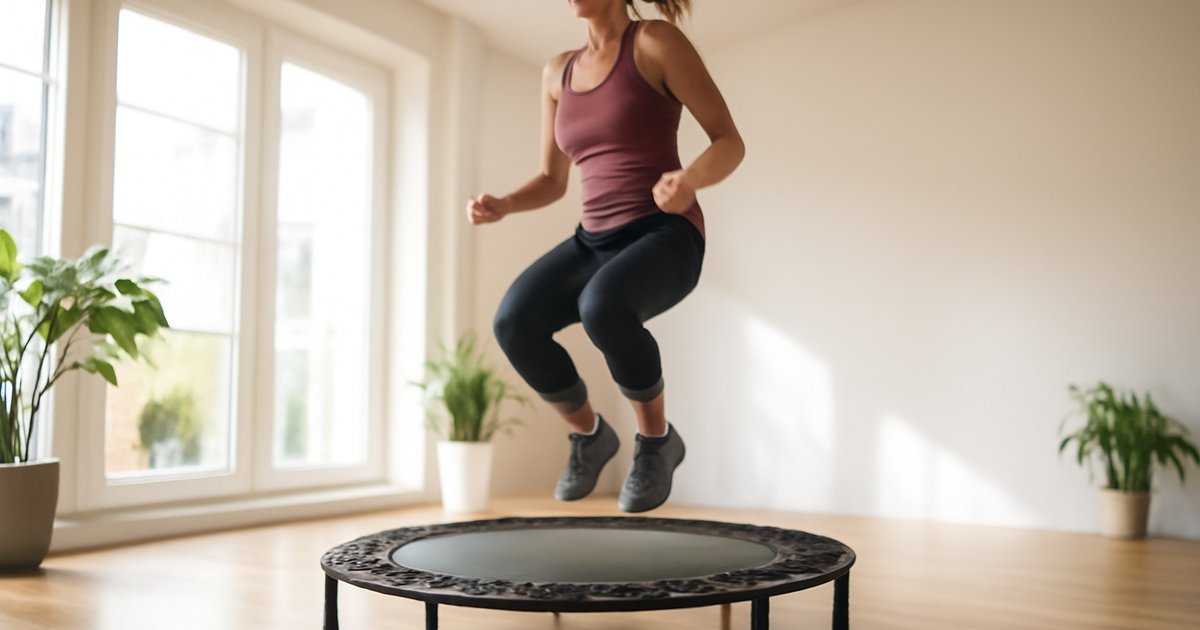
  • Trampoline Fitness: The Fun Workout That Burns Real Calories

    Trampoline Fitness: The Fun Workout That Burns Real Calories

    Trampoline Fitness: The Fun Workout That Burns Real Calories

    You’ve been slogging through workouts that feel like a chore — what if the most effective cardio session you could have actually felt like recess?

    Remember that feeling as a kid when you could bounce on a trampoline for hours without noticing how tired you were? Turns out, your adult body still loves that kind of movement — and science is starting to catch up with what your 10-year-old self already knew instinctively.

    Trampoline fitness, sometimes called rebounding, has quietly moved from backyard novelty to legitimate workout modality over the past decade. Mini-trampolines are showing up in boutique fitness studios, physical therapy clinics, and home gyms across the US — and for good reason. This low-impact, high-efficiency form of exercise targets cardiovascular endurance, coordination, core stability, and even lymphatic health in ways that traditional cardio often doesn’t.

    If you’ve dismissed trampoline fitness as a gimmick or something reserved for kids’ birthday parties, this guide is going to change your perspective. You’ll learn exactly how rebounding works, why it’s scientifically worth your time, how to get started safely, and what realistic results look like. No hype, just evidence-backed guidance you can actually use.

    Why Trampoline Fitness Matters More Than You Think

    Most adults aged 25 to 60 are looking for two things in a workout: effectiveness and sustainability. The brutal truth is that high-impact cardio like running is hard on the joints over time, and many people drop it before they ever build a lasting habit. That’s where rebounding earns its place.

    According to research published in the Journal of Applied Physiology, rebounding on a mini-trampoline produces a metabolic equivalent (MET) comparable to running at a moderate pace — but with significantly less mechanical stress on your knees, ankles, and hips. The elasticity of the trampoline surface absorbs approximately 80% of the impact force that would otherwise travel through your joints with each step.

    This matters enormously for adults who have existing joint discomfort, are returning from injury, or simply want to protect their long-term mobility. The American College of Sports Medicine (ACSM) consistently emphasizes that sustainable exercise adherence is one of the most critical predictors of long-term health outcomes — and a workout you can actually stick to beats a theoretically superior workout you quit after three weeks.

    Beyond joints, trampoline exercise engages your proprioceptive system — your body’s internal sense of position and balance — more actively than flat-surface cardio. This translates to real-world benefits: better coordination, reduced fall risk, and improved neuromuscular communication throughout your body.

    The Science Behind How Rebounding Actually Works

    Here’s the mechanics: every time you bounce, your body experiences a brief moment of increased gravitational load at the bottom of the jump and near-weightlessness at the top. This rhythmic alternation between G-force and reduced gravity is what makes trampoline training uniquely stimulating for multiple body systems simultaneously.

    A frequently cited NASA study from the Journal of Applied Physiology compared the physiological responses of running on a treadmill versus bouncing on a trampoline and found that rebounding was 68% more oxygen-efficient than running. While this specific figure has been discussed with nuance in later exercise science literature — results depend heavily on bounce intensity and individual fitness levels — the underlying point holds: rebounding can deliver significant cardiovascular demand while feeling less punishing.

    One of the most talked-about (and somewhat overstated) benefits of rebounding involves lymphatic circulation. Unlike the cardiovascular system, the lymphatic system has no central pump — it relies on muscular contractions and gravitational changes to move lymph fluid through the body. The rhythmic up-and-down motion of rebounding does stimulate lymphatic valves, which may support the body’s natural immune and waste-clearance processes. That said, it’s worth noting that the research here is still developing, and the degree of benefit varies significantly between individuals.

    Common myth worth busting: trampoline fitness is not just for people who can’t do "real" cardio. Elite athletes and professional sports teams have incorporated rebounding into their training programs for coordination, recovery, and neuromuscular conditioning. It’s a legitimate performance tool, not a consolation prize.

    How to Get Started with Trampoline Fitness

    Getting started with rebounding is refreshingly accessible compared to many fitness modalities. You don’t need a gym membership, and the barrier to entry is relatively low. Here’s how to approach it based on your current fitness level:

    Equipment First: For home use, a quality mini-trampoline (rebounder) with a sturdy frame, bungee cord suspension (easier on joints than spring-based models), and a weight rating that fits your body is essential. Look for models with a stabilizing handlebar if you’re new to balance work or returning from injury. Budget range: $80 to $300 depending on quality.

    Beginner (Weeks 1-3):

    • Start with a basic health bounce: both feet stay lightly in contact with the mat, gentle rhythmic bouncing for 5-10 minutes
    • Focus on posture — soft knees, core gently engaged, shoulders relaxed
    • Aim for 3 sessions per week, building to 15 minutes per session
    • Add arm movements (overhead presses, lateral raises) to increase heart rate without jumping higher

    Intermediate (Weeks 4-8):

    • Incorporate high-knee bouncing, jogging in place on the trampoline, and lateral shuffles
    • Try simple intervals: 30 seconds of higher-intensity bouncing, 30 seconds of gentle recovery bounce
    • Aim for 20-30 minute sessions, 4 times per week
    • Begin adding directional movements: front-back shifts, quarter turns

    Advanced:

    • Tuck jumps, jumping jacks, single-leg bouncing for balance and lower body strength
    • Structured HIIT-style protocols: 40 seconds on, 20 seconds off, repeated for 6-8 rounds
    • Combine with resistance bands or light dumbbells for upper body engagement
    • Sessions of 30-45 minutes with deliberate intensity variation

    If you’re looking for a way to pair trampoline cardio with a structured strength program, Bodyweight Training: Build Real Strength Anywhere offers an excellent complementary approach that requires no equipment and can be done on the same days or alternated throughout the week.

    Common Mistakes That Sabotage Your Progress

    Trampoline fitness looks simple, and that simplicity is part of its appeal — but it also means people often skip the fundamentals and run into frustrating plateaus or avoidable discomfort.

    Mistake 1: Bouncing too high too soon. This is the most common beginner error. Higher jumps don’t automatically mean better workouts — they increase the risk of losing control, landing awkwardly, and straining your ankles or knees. The most effective rebounding often happens at moderate heights with precise, controlled movement. Fix: keep your bounces controlled and focus on rhythm before adding height.

    Mistake 2: Ignoring core engagement. Many people bounce passively, treating the trampoline like it’s doing all the work. Without deliberate core activation, you miss a significant portion of the stability and postural benefit — and you increase the likelihood of lower back strain. Fix: think about gently drawing your navel toward your spine throughout your session. This doesn’t mean bracing hard, just maintaining awareness.

    Mistake 3: Skipping the warm-up and cool-down. Because rebounding feels fun and easy at first, people often jump straight in without preparing their muscles and joints. This is especially risky for the Achilles tendon and calf muscles, which work hard during bouncing. Fix: spend 3-5 minutes doing gentle marching in place and ankle circles before you step on, and end with standing calf stretches and hip flexor lengthening.

    Mistake 4: Using a low-quality or worn-out rebounder. A trampoline with uneven tension, damaged springs, or a frame that wobbles under use is not just less effective — it’s genuinely dangerous. Fix: invest in a reputable brand with good reviews, check the mat and frame regularly for wear, and replace worn bungees or springs before they fail.

    For those who want to build recovery practices alongside their trampoline routine, Foam Rolling: The Recovery Tool You’re Probably Underusing is a practical companion guide that addresses muscle maintenance and post-workout soreness.

    What to Eat to Support Your Trampoline Training

    Nutrition for rebounding follows the same core principles as any aerobic exercise program. You’re not training at the intensity of a marathon, but consistent sessions do create meaningful energy and recovery demands.

    Before your session: A light meal or snack 60-90 minutes before training works well for most people. The Academy of Nutrition and Dietetics recommends pairing easily digestible carbohydrates with a small amount of protein — think a banana with a tablespoon of almond butter, or a small bowl of oatmeal with berries. Avoid large, high-fat meals right before bouncing, as the up-and-down motion can cause genuine GI discomfort.

    During: For sessions under 45 minutes, water is sufficient. For longer or more intense sessions, an electrolyte drink may help, especially in warmer months or if you sweat heavily.

    After your session: Prioritize protein within 30-60 minutes post-workout to support muscle repair. The USDA Dietary Guidelines and sports nutrition research generally suggest 20-30 grams of quality protein is a practical target for most adults. Good options include Greek yogurt with fruit, a protein smoothie with milk or plant-based milk, or eggs with whole grain toast.

    What to limit: Ultra-processed snacks immediately before exercise reduce performance and increase the likelihood of energy crashes mid-session. Alcohol the night before or day of training also impairs neuromuscular coordination — which matters more in trampoline work than you might expect, since balance and timing are central to the workout.

    How Long Until You See Results and What to Track

    This depends on your baseline fitness, consistency, and what results you’re measuring. Realistic expectations grounded in exercise science look something like this:

    Weeks 1-2: Improved coordination and balance awareness. Many new rebounders notice they feel more "in sync" with their body relatively quickly. Some initial muscle soreness in calves, glutes, and core is normal and typically resolves by the end of week two.

    Weeks 3-6: Measurable cardiovascular improvement. Resting heart rate may begin to decrease slightly, and you’ll likely notice that sessions feel easier at the same intensity — a reliable sign of improved aerobic fitness. Harvard Health Publishing notes that consistent moderate aerobic activity can produce noticeable cardiorespiratory improvements within 4-6 weeks for sedentary adults.

    Weeks 8-12: Body composition changes become more visible when paired with appropriate nutrition. Weight management through rebounding alone varies significantly between individuals — caloric expenditure for a 155-pound adult during moderate rebounding is approximately 200-300 calories per 30-minute session, though this is highly dependent on intensity.

    What to track: Resting heart rate (a great baseline metric), session duration and perceived effort (rate of exertion on a 1-10 scale), and how you feel on rest days. If energy and mood are improving and sessions feel progressively easier, you’re moving in the right direction.

    When to reassess: If you experience persistent joint pain, dizziness during or after sessions, or no change in fitness markers after 8 weeks of consistent effort, it’s worth checking in with a certified fitness professional or your healthcare provider.

    If you want to expand your low-impact cardio toolkit further, Incline Walking: The Low-Impact Workout That Actually Works pairs exceptionally well with a rebounding routine as a gentler active recovery option.

    Frequently Asked Questions

    Is trampoline fitness safe for people with bad knees?
    For many people with knee discomfort, rebounding is actually more comfortable than running or high-impact aerobics because the trampoline surface absorbs significant impact force. That said, individual conditions vary widely. If you have a diagnosed knee issue — such as a meniscus tear or significant osteoarthritis — consult your orthopedic specialist or physical therapist before starting. Starting with the gentlest health bounce and building slowly is the safest approach for anyone with existing joint concerns.

    How many calories does trampoline fitness burn?
    Caloric burn depends on your body weight, bounce intensity, and session length. Research estimates suggest moderate rebounding burns roughly 200-300 calories per 30 minutes for an average adult — comparable to brisk walking or light jogging. Higher-intensity intervals push that range upward. Results vary significantly based on individual metabolism and effort level.

    Can I lose weight with trampoline workouts alone?
    Rebounding can absolutely contribute to a caloric deficit and support weight management goals, but no single exercise modality is a complete solution on its own. Pairing consistent rebounding with balanced nutrition and adequate sleep produces the most sustainable outcomes. The Academy of Nutrition and Dietetics consistently emphasizes that weight management is most effectively addressed through a whole-lifestyle approach rather than exercise alone.

    How often should I do trampoline workouts?
    The ACSM recommends at least 150 minutes of moderate-intensity aerobic activity per week for general health. Rebounding 4-5 days per week in 20-30 minute sessions comfortably meets that target. Beginners should start at 3 days per week and progress gradually. Include at least one full rest day between higher-intensity sessions.

    Do I need to use a mini-trampoline, or can I use a full-size outdoor trampoline?
    Mini-rebounders (36-40 inches in diameter) are specifically designed for fitness use, offering controlled bounce tension optimized for low-impact exercise. Full-size outdoor trampolines have different spring tensions designed for recreational bouncing, which can make controlled fitness movements harder and injury risk higher. For structured fitness training, a purpose-built rebounder is the better choice.

    Start Bouncing — Your Joints Will Thank You

    Trampoline fitness isn’t just a feel-good novelty — it’s a genuinely effective, science-supported way to build cardiovascular endurance, sharpen coordination, and protect your joints for the long haul. The fact that it’s also genuinely fun is a feature, not a bug. Enjoyment is one of the strongest predictors of workout consistency, and consistency is what actually produces results.

    Start where you are. A basic rebounder, a 10-minute health bounce three times a week, and a commitment to building gradually is all you need to begin. Small, consistent steps taken week after week will get you further than any intense burst of motivation that burns out in a month.

    Your action step for today: research one quality mini-trampoline within your budget, or check if any local fitness studios offer a rebounding class you can try before investing in your own equipment. Sometimes one great session is all it takes.


    Wellness Disclaimer: This article is for informational and educational purposes only. The content is not intended to replace professional medical, nutritional, or fitness advice. Always consult a qualified healthcare provider, registered dietitian, or certified fitness professional before starting a new health program or making significant changes to your lifestyle.

    Content reviewed by our wellness editorial team, with references to peer-reviewed research and guidelines from leading health organizations.
  • Stair Climbing Workout: The Underrated Cardio That Delivers

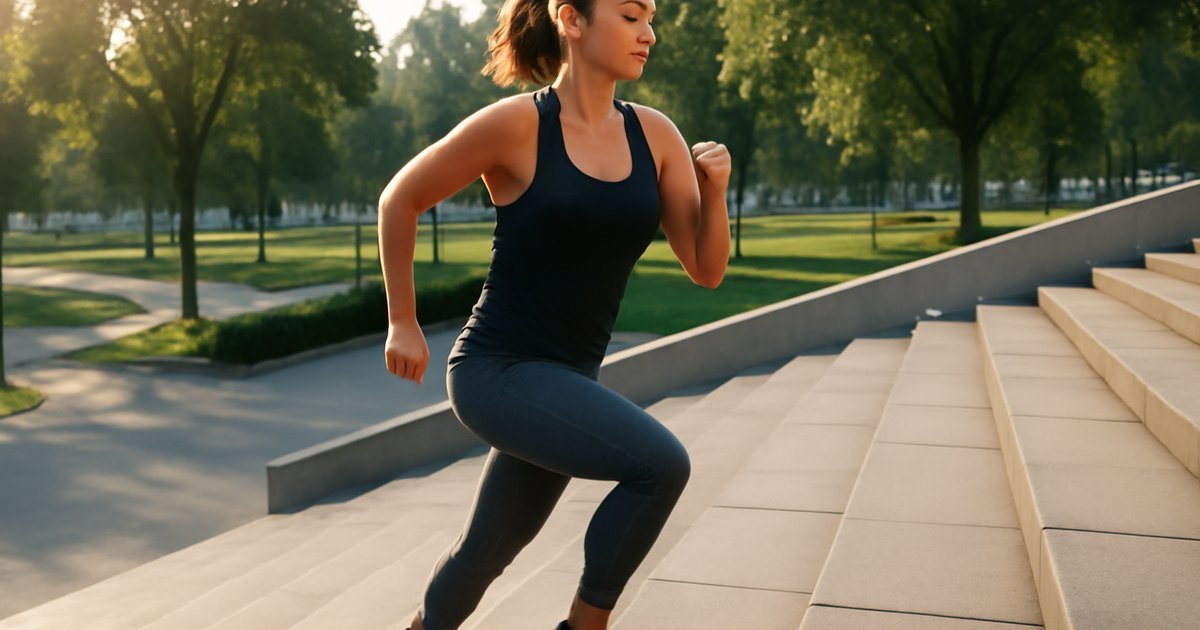
    Stair Climbing Workout: The Underrated Cardio That Delivers

    Stair Climbing Workout: The Underrated Cardio That Delivers

    You walk past a flight of stairs every single day — and it might be the most effective piece of fitness equipment you’re already ignoring.

    Here’s a number worth pausing on: according to Harvard Health Publishing, climbing just two flights of stairs per day could help you burn enough calories to avoid the average American’s one-pound annual weight gain. That’s without a gym membership, a fitness tracker, or a single burpee.

    And yet, most people step right past the staircase and press the elevator button.

    Stair climbing workouts have earned a quiet reputation among trainers, physical therapists, and endurance athletes as one of the most efficient, low-cost, and genuinely demanding forms of cardio available. The stair climbing workout is beginner-accessible, hard to plateau on, and remarkably time-efficient — which matters when your schedule is already stretched thin.

    In this guide, you’ll learn exactly why stair climbing deserves a permanent spot in your fitness routine, how it actually works in your body, how to get started safely, and what to avoid so you don’t derail your progress before it begins. Whether you’re using a staircase at home, at work, or a StairMaster at the gym, this is your full playbook.

    Why Stair Climbing Matters More Than You Think

    It’s easy to underestimate something so ordinary. Stairs are everywhere. They feel like an inconvenience, not a workout. But once you start pushing your pace on a staircase, that perception changes fast.

    Stair climbing is a compound movement — it simultaneously engages your glutes, quadriceps, hamstrings, calves, and hip flexors while also demanding sustained cardiovascular output. Unlike flat-surface walking or jogging, every step up requires your muscles to work against gravity, which significantly increases the metabolic cost of the movement.

    According to the American College of Sports Medicine (ACSM), activities that recruit large muscle groups in a sustained, rhythmic manner are ideal for improving cardiovascular fitness. Stair climbing checks every one of those boxes.

    A study published in the British Journal of Sports Medicine found that brief, vigorous stair climbing bouts — even just 10 minutes spread across the day — were sufficient to improve cardiovascular health markers in sedentary adults. This is particularly relevant for busy people who struggle to carve out a single long workout block.

    Beyond cardiovascular gains, stair climbing has a surprisingly strong association with longevity. Research from the Harvard Alumni Health Study found that men who climbed 35 or more flights of stairs per week had significantly lower mortality rates compared to those who were largely sedentary. The effect held even when controlling for other physical activity.

    In your daily life, this translates to more than just fitness numbers. Stronger legs, better balance, and improved cardiovascular capacity all contribute to healthier aging, reduced fall risk, and the ability to stay active as the decades pass.

    How Stair Climbing Actually Works in Your Body

    Let’s get specific, because understanding the mechanism helps you train smarter.

    When you climb stairs, your body operates in a way that’s meaningfully different from walking on flat ground. The incline forces your posterior chain — glutes, hamstrings, and calves — to generate more force per step. Your quads work eccentrically on the way up, absorbing load and controlling your ascent. Your core stabilizes your trunk with every stride. It’s a full lower-body workout disguised as simple locomotion.

    From a cardiovascular standpoint, stair climbing elevates your heart rate quickly and keeps it elevated. Research published in the Journal of Strength and Conditioning Research found that stair climbing elicited greater cardiovascular responses than walking at comparable speeds on flat ground. In practical terms, you work harder in less time.

    One common myth is that stair climbing is rough on the knees and therefore should be avoided by anyone with joint concerns. The reality is more nuanced. Proper stair climbing technique — which we’ll cover in detail — is actually considered a low-impact, joint-friendly activity by many physical therapists, particularly compared to running. The key is alignment and controlled movement. That said, if you have an existing knee injury or osteoarthritis, this depends on your baseline and you should consult a healthcare provider before starting.

    Another misconception: that you need a StairMaster machine to get real results. Real staircases work just as well — sometimes better, because the variability in step height and length adds an additional neuromuscular challenge that a machine can’t replicate.

    How to Get Started: A Practical Stair Climbing Plan

    The beauty of stair climbing is that the barrier to entry is almost nonexistent. Here’s how to build from zero to a solid routine, regardless of your current fitness level.

    Beginner Level (Weeks 1–3)

    • Start with 2–3 sessions per week, climbing at a comfortable, conversational pace
    • Aim for 5–10 minutes of continuous stair climbing per session
    • Use the handrail for balance, not momentum — your legs do the work
    • Focus on controlled, full foot placement: heel-to-toe, not just ball of foot
    • Take the elevator or escalator back down if your knees need the break
    • Rest 1–2 minutes between sets if doing multiple climbs

    Intermediate Level (Weeks 4–8)

    • Increase sessions to 4 per week, pushing total climbing time to 15–20 minutes
    • Introduce one "skip-step" set per session — stepping every other stair to increase glute activation
    • Add a slight forward lean from the hips (not the waist) to shift load into glutes and reduce knee strain
    • Try timed interval sets: 30 seconds fast climbing, 30 seconds slow, repeated for 8–10 rounds
    • Begin descending stairs actively at a slower pace to build eccentric strength

    Advanced Level (Week 9+)

    • Incorporate weighted stair climbing using a light backpack (5–15 lbs) to increase resistance
    • Try stair-based HIIT: max-effort sprint up, slow walk down, repeated for 6–8 rounds
    • Explore longer stair climbs — stadiums, parking garages, tall buildings (with permission) — for sustained endurance sessions
    • Combine stair climbing with resistance exercises: after each climb, perform 10 bodyweight squats or lunges at the bottom

    For those using a gym StairMaster, the same progression applies. Start at resistance level 4–6, maintain an upright posture, and avoid leaning heavily on the side rails — that defeats the purpose.

    Common Mistakes That Sabotage Your Results

    Stair climbing looks simple, and that simplicity tricks a lot of people into doing it in ways that reduce effectiveness or cause unnecessary strain. Here are the most common errors — and exactly how to fix them.

    Mistake #1: Leaning too hard on the handrail or StairMaster rails
    This is the number-one stair climbing mistake. When you transfer your body weight onto your arms, you offload the very muscles you’re supposed to be training. Studies on StairMaster use have found that users who grip the rails tightly can reduce their caloric expenditure by up to 25%. Fix: touch the rails lightly for balance only, or let your arms swing naturally.

    Mistake #2: Taking stairs too fast before your body is ready
    Going full speed on day one is a fast track to knee discomfort and DOMs (delayed onset muscle soreness) severe enough to make you quit. Your lower body muscles — particularly your quads — take time to adapt to the eccentric load of stair climbing. Fix: start at 60–70% of your perceived maximum effort for the first two weeks, and increase pace gradually.

    Mistake #3: Skipping the warm-up
    Jumping straight into stair climbing with cold muscles increases injury risk and reduces performance. Fix: spend 3–5 minutes walking on flat ground or doing dynamic leg swings and ankle circles before your first climb. This is especially important if you’re climbing first thing in the morning.

    Mistake #4: Only climbing — never descending
    Always taking the elevator down means missing out on the eccentric strength benefits of descending. Controlled downward stepping strengthens your quadriceps and improves joint stability. Fix: incorporate at least some active descents into your routine, especially as you become more conditioned.

    Mistake #5: Ignoring foot placement
    Climbing only on the balls of your feet reduces calf fatigue but shortchanges glute and hamstring engagement. Fix: plant your full foot on each step — or at least your midfoot — and push through your heel as you drive upward. This one cue alone noticeably shifts the load into your posterior chain.

    What to Eat to Support Your Stair Climbing Training

    Stair climbing is a demanding cardiovascular and muscular effort. Fueling correctly makes the difference between sluggish sessions and real progress.

    According to the Academy of Nutrition and Dietetics, adults engaging in regular moderate-to-vigorous exercise should prioritize adequate carbohydrate intake for energy and sufficient protein to support muscle repair and adaptation.

    Pre-workout (30–60 minutes before): A small meal or snack combining complex carbohydrates and a modest amount of protein works well. Think: a banana with a tablespoon of almond butter, or whole grain toast with a scrambled egg. Avoid high-fat, high-fiber meals right before climbing — they slow digestion and can cause discomfort during exertion.

    Post-workout (within 30–60 minutes after): The USDA Dietary Guidelines and sports nutrition research consistently support consuming 20–30 grams of protein after resistance and cardio training to support muscle protein synthesis. Greek yogurt, a protein shake, or a chicken and rice bowl all work well here.

    Hydration: Even moderate stair climbing induces significant sweat. The American College of Sports Medicine recommends drinking approximately 17–20 ounces of water in the 2–3 hours before exercise, and continuing to hydrate throughout your session — especially for workouts exceeding 20 minutes.

    What to avoid: Sugary sports drinks for sessions under 45 minutes (water is sufficient), heavy meals within 90 minutes of training, and skipping post-workout nutrition entirely — a common habit that slows recovery.

    How Long Until You See Results — and What to Track

    Real talk: results from stair climbing depend on frequency, intensity, your starting fitness level, and how well you’re recovering. Results vary significantly from person to person.

    That said, here’s what research and practical experience suggest for realistic timelines:

    Weeks 1–2: You’ll likely feel the burn immediately — particularly in your quads and glutes. You may experience DOMS after your first few sessions. This is normal and will diminish as your body adapts.

    Weeks 3–4: Cardiovascular endurance begins to noticeably improve. Flights that felt hard at week one become more manageable. Your resting heart rate may start to trend downward.

    Weeks 6–8: Visible and functional lower-body strength gains often become apparent at this point. Climbing the same number of floors at a faster pace, or adding skip-steps without fatigue, are good performance indicators.

    Months 3+: Sustained stair climbing at this point supports meaningful improvements in cardiovascular fitness (VO2 max), lower-body muscular endurance, and caloric expenditure over time.

    What to track:

    • Floors climbed per session (most smartphones and fitness trackers log this automatically)
    • Session duration and perceived exertion (1–10 scale)
    • Resting heart rate (a declining trend signals improved cardiovascular fitness)
    • How your legs feel on non-climbing days (recovery quality is a key indicator)

    If you’ve been consistent for 8 weeks and feel no adaptation or improvement, it may be time to increase intensity, add weight, or consult a certified fitness professional for a personalized progression plan.

    Frequently Asked Questions

    Is stair climbing enough cardio on its own, or do I need other workouts too?
    For many people, stair climbing can serve as a primary cardio modality — especially when performed with sufficient intensity and frequency. However, the ACSM recommends a well-rounded program that includes both cardiovascular and resistance training. Pairing stair climbing with a strength routine — even bodyweight exercises — will give you a more balanced fitness profile. If you enjoy mixing things up, check out our guide on Circuit Training: The Complete Guide for Real Results for a great complement.

    How many stairs do I need to climb to get a real workout?
    This depends on your pace and fitness level. A general benchmark: climbing 10–15 floors of stairs at a brisk pace can elevate your heart rate into a moderate-to-vigorous zone for most adults. But even 5 floors climbed several times throughout the day adds up meaningfully. Quality of effort matters more than a specific floor count.

    Is stair climbing bad for your knees?
    For most healthy adults, stair climbing with proper technique is not harmful to the knees and can actually help strengthen the muscles that support the knee joint. However, if you have an existing knee condition, patellofemoral pain syndrome, or have recently had knee surgery, you should get clearance from a healthcare provider or physical therapist before adding stair climbing to your routine.

    Can I lose weight with stair climbing alone?
    Stair climbing burns meaningful calories — roughly 0.17 calories per step for a 150-pound adult, according to estimates from Harvard Health Publishing. Combined with a balanced, calorie-appropriate diet, regular stair climbing can support weight management. But no single exercise alone determines body weight. Nutrition, sleep, stress, and overall activity level all play a role.

    What’s better for fitness — real stairs or a StairMaster machine?
    Both are effective. Real stairs offer more variability in step depth and height, which adds neuromuscular challenge. A StairMaster allows for precise resistance control and is more accessible year-round regardless of weather. The best one is whichever you’ll actually use consistently. If you want to add variety, try Resistance Band Training: Build Strength Anywhere as a portable lower-body complement.

    Start With One Flight — Then Build From There

    Stair climbing doesn’t require a gym, expensive equipment, or a complicated plan. It requires consistency and a willingness to take the long way up.

    Start with what’s in front of you — the stairs at home, your office building, a local stadium. Climb three days a week at a comfortable pace, focus on full foot placement, skip the handrail, and give it four weeks before you judge the results. Small, repeatable effort beats the perfect workout you never actually do.

    Your legs, your heart, and your future self will notice the difference. One flight at a time.


    This article is for informational and educational purposes only. The content is not intended to replace professional medical, nutritional, or fitness advice. Always consult a qualified healthcare provider, registered dietitian, or certified fitness professional before starting a new health program or making significant changes to your lifestyle.

    Content reviewed by our wellness editorial team, with references to peer-reviewed research and guidelines from leading health organizations.